

I own a 2014 Craftsman T3000 lawn tractor. It has become my pride and joy since it is useful and time-saving all year long. I use it for mowing, leaf pick-up, and snow plowing.
It does come with its fair share of maintenance, however. The bushings that it was designed to have, wear out and when they do, the wheels become loose and the tires begin to wear badly. You also have to grease up the wheels constantly as they will begin to squeak very badly, in some cases.
To fix both of these problems, I will install a conversion kit I picked up allowing me to replace the bushings with maintenance-free ball bearings.
As it turned out, the project was not difficult at all. I had heard stories where the wheel bushings were very difficult to remove. This would likely be the result of neglecting the axle grease applications. Either way, nothing here is impossible. I submit that anyone with any level of determination will be able to perform the conversion at hand here.
I offer this video of my first time with this operation – I thought it would be difficult, but I was wrong. Check it out…
I offer you a list of the tools I had used along with the conversion kit that I picked up:
The Conversion Kit:
I picked this conversion kit up at… I’ll get back to you (provider being difficult)
Necessary Tools:
- Hammer
- medium sized chisel
- Needle nose plyers
- Standard plyers
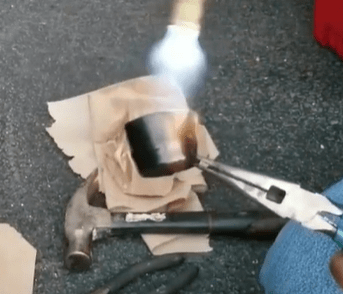
- Bernz-o-matic torch with regulator
Instructions:
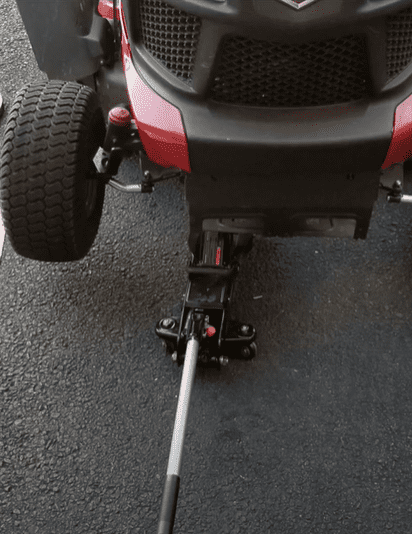
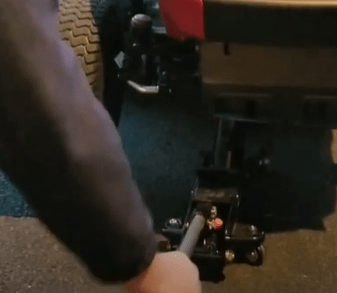
Jack up the front end of the tractor enough to get the wheel off the ground
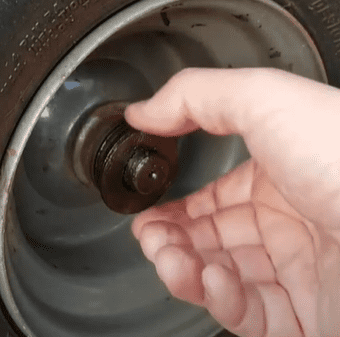
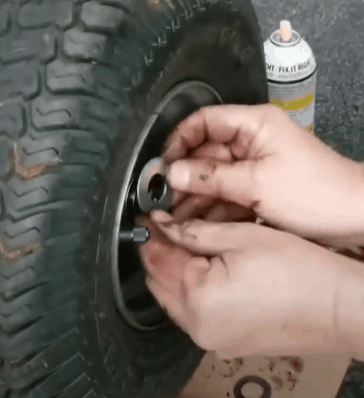
Remove the hub cap
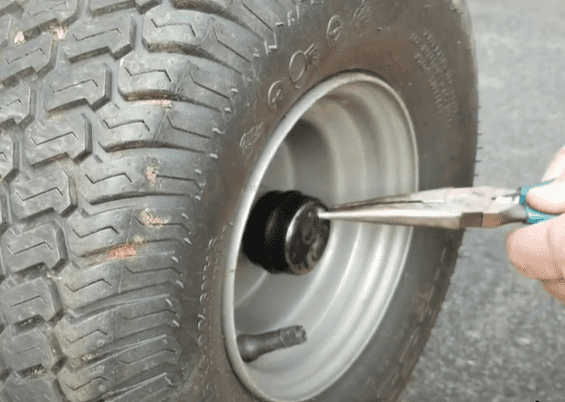
Remove the E-clip
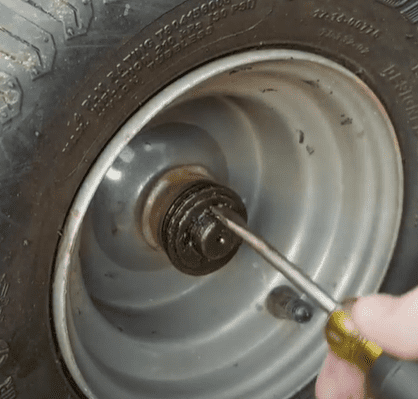
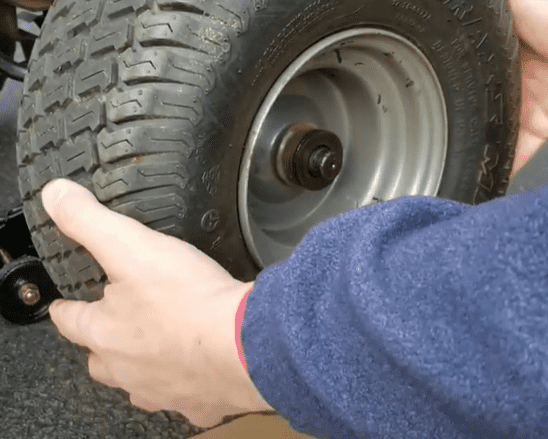
Remove the washers (3) and the wheel itself
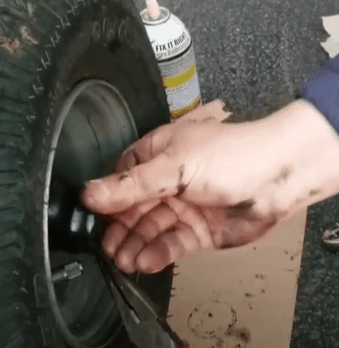
Place wheel down on floor or pavement on some manner of towel or paper
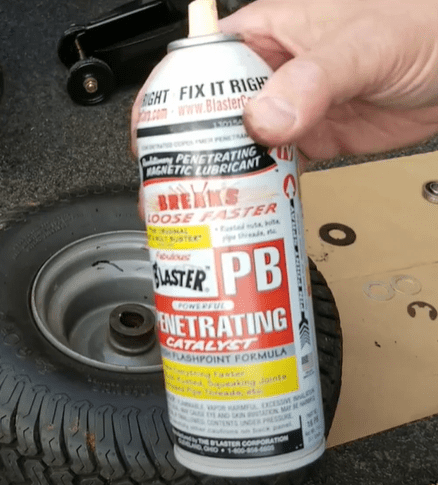
Use the PB Blaster penetration spray into the wheel and onto the inside edges of the bushings. Give the outside of the bushings a few light taps with the hammer to set up the penetration of the fluid into the more frozen spots where metal meets metal.

Now The hard part: With the hammer and chisel gently, but firmly hammer out the bushing out of one side changing the positioning of the chisel to place force evenly on the bushing so as not to damage the wheel.


Once the bushings are out, clean out the excess grime and grease

Place the new ball bearing into the wheel and gently hammer down into the hole, once again, changing the positioning of the chisel to be certain not to damage the wheel (see the video above). Be extra careful not to pound on the inside ring as it will not be as well supported on this angle.
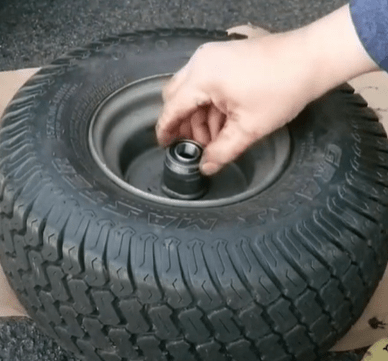
Make certain that there is no space between the wheel and the flange on the ball bearing.

Once the wheel is set up with the ball bearings in place, place 2 washers (came with conversion kit) on the axle, inside of the wheel.
Next, place the wheel and the last washer on the outside of the wheel
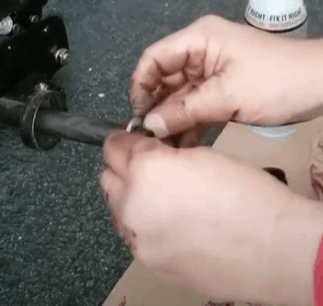
Replace the E-ring retaining clip back into its groove at the end of the axle, This is always tricky. The E-ring will pop out of the plyers. This step could take several attempts to succeed. Be patient.

Once again, heat the wheel hub just enough to make it pliable and place it back on the hub itself. When it cools, the hub will be sealed.
The last step is to set the tractor back down on the floor.
You’re all set… to do the other side – doh!

I would rate this job as easy. That is to say that anyone with something to prove to themselves could manage this one and still be proud of the outcome.
I hope this was helpful.
Best of Luck to You and Yours,
Berk